Before You Start: What You Need
Before setting up automated messaging, make sure you have these basics in place: an active Airbnb account with at least one live listing, your property details documented (address, check-in procedure, Wi-Fi password, house rules, local recommendations), and a decision on which automation tool to use. If you use a PMS or channel manager, check whether it includes messaging automation -- many do. If not, you will need a dedicated guest messaging software tool.
Step 1: Choose Your Automation Tool
You have three main options for automating Airbnb messages, each with different capabilities and price points:
| Tool Type | Examples | Best For | Price | Capability |
|---|
| Airbnb built-in | Scheduled messages | Single-listing hosts | Free | Pre-set messages only, no AI |
| PMS automation | Hostaway, Guesty | Multi-property managers | $20-$50/property/mo | Template-based, multi-channel |
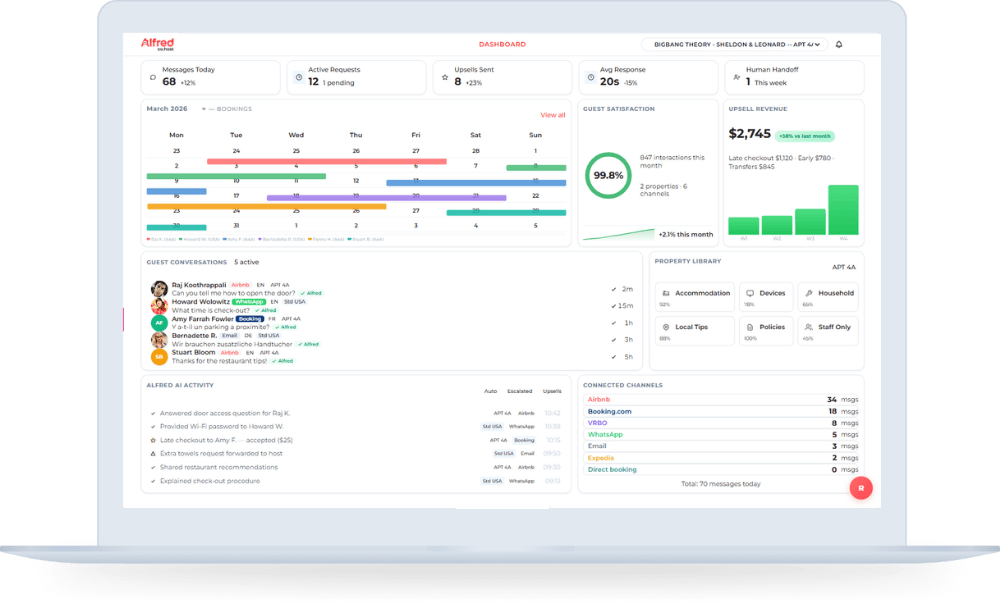
| AI messaging | Alfred | All property types | From $40/mo | Context-aware AI, multilingual, real-time |
Airbnb's built-in scheduled messages work for single-listing hosts who just need basic pre-written messages sent at set times. PMS platforms like Hostaway and Guesty include messaging as part of broader property management suites -- good if you already use one. For the most capable automation, an AI guest assistant like Alfred handles not just scheduled messages but also real-time responses to unexpected guest questions across Airbnb, Booking.com, WhatsApp, and SMS. Alfred's automated messaging goes beyond templates by understanding context and responding intelligently.
Step 2: Map Your Guest Journey Messages
Every guest interaction follows the same 7-message journey. Map each one before writing your templates:
| # | Message | Timing | Trigger | Purpose |
|---|
| 1 | Booking confirmation | Immediately | New booking | Welcome, set expectations |
| 2 | Pre-arrival details | 3 days before check-in | Date-based | Travel tips, parking info |
| 3 | Check-in instructions | Day of check-in | Date-based | Access codes, directions |
| 4 | Welcome / first-night | Evening of check-in | Time-based | Confirm arrival, offer help |
| 5 | Mid-stay check-in | Day 2-3 (3+ night stays) | Date-based | Proactive service, catch issues |
| 6 | Check-out reminder | Day before check-out | Date-based | Checkout process, thank you |
| 7 | Review request | 1 day after check-out | Date-based | Request review, feedback |
Not every stay needs all 7 messages. For one-night stays, skip the mid-stay check-in. For returning guests, shorten the booking confirmation. The key is having each message ready so automation can handle the delivery.
Step 3: Write Your Message Templates
Great Airbnb automated messaging templates share four traits: they are under 150 words, they use the guest's name and property-specific details, they include one clear call-to-action, and they sound human rather than corporate. Here are three examples:
Check-in message template:
Hi [Guest Name], welcome to [Property Name]! Your check-in is today. Here is everything you need: Address: [Address]. Access code: [Code]. Wi-Fi: [Network] / [Password]. House manual is on the kitchen counter. If you need anything at all, just message me here. Enjoy your stay!
Mid-stay check-in template:
Hi [Guest Name], hope you are settling in well at [Property Name]! Just checking in -- is everything working as expected? If you need restaurant recommendations or have any questions, I am here to help.
Review request template:
Hi [Guest Name], thank you for staying at [Property Name]! I hope you had a great time. If you have a moment, I would really appreciate a review -- it helps future guests find us. Thanks again and safe travels!
Step 4: Set Up Triggers and Test
Once your templates are written, configure the triggers that automate delivery. Most tools offer two trigger types: event-based (fires when a booking is made, modified, or cancelled) and date-based (fires a set number of days or hours before/after check-in or check-out). Set your check-in message to send the morning of arrival, not midnight. Set your review request for the afternoon after checkout, not immediately.
Before going live, test your entire sequence with a dummy booking. Verify that personalization tokens ([Guest Name], [Property Name], [Access Code]) populate correctly. Check message timing across different time zones. The most common setup mistake is forgetting to automate Airbnb messages for different time zones -- a guest checking in at 3 PM local time should not receive their check-in instructions at 3 AM their time.
Common Mistakes to Avoid with Automated Messaging
Four mistakes trip up most hosts when they first set up automated Airbnb messages:
- Over-messaging: More than 7 messages per stay annoys guests. Quality over quantity.
- No personalization: Generic messages feel impersonal. Always include the guest's name and property-specific details.
- No human escalation: Automation should handle routine messages, but complex issues need a real person. Set up escalation paths for urgent requests.
- Stale templates: Update your templates seasonally. A check-in message referencing summer activities in December undermines trust.
For more operational efficiency strategies, see our Airbnb hosting tips guide.
Want Alfred to Handle This for You?
Go beyond templates with AI that understands context, handles unexpected questions, and responds in the guest's language -- all automatically.
Final Thoughts
Automating your Airbnb messages is the single highest-impact time saver available to hosts. Start with the 7 guest journey messages, use templates that feel personal, and test your triggers before going live. If you want messaging that goes beyond templates -- AI that understands context, handles unexpected questions, and responds in the guest's language -- Alfred's automated messaging takes it further. Try Alfred free and automate your first property in under 15 minutes.